AI vs Green Screen Background Removal: A 2026 Guide
Yash Thakker
Author
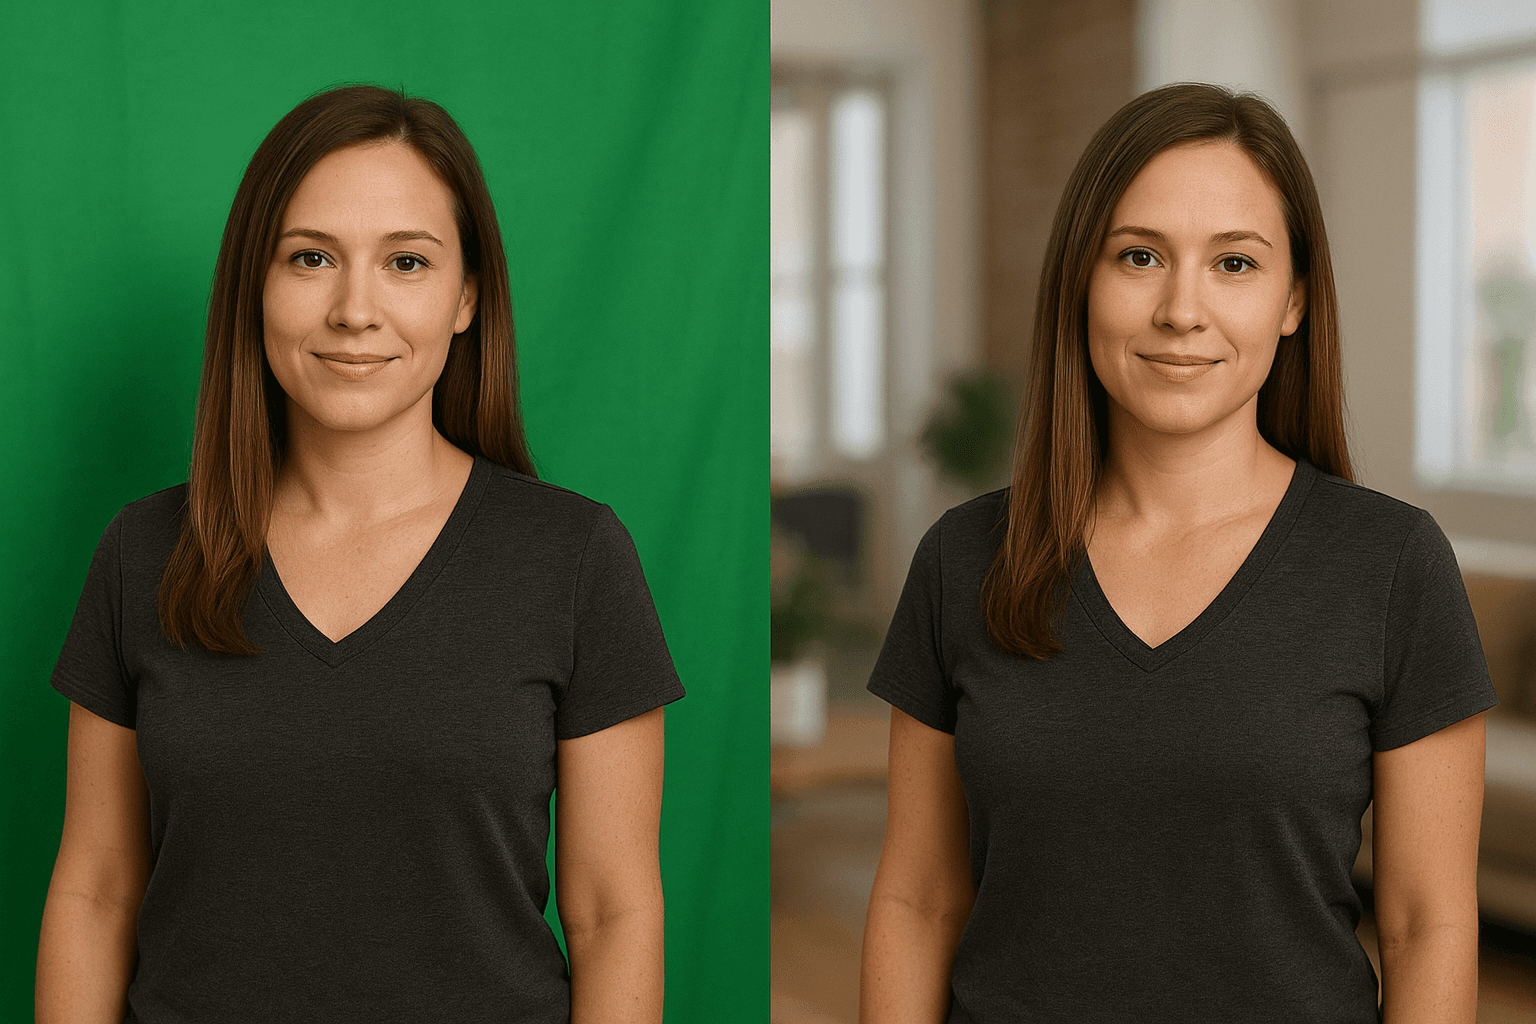
AI background removal and green-screen keying solve a similar production problem through different kinds of information. AI separation estimates which part of an ordinary scene belongs to the subject. Chroma keying uses a deliberately chosen background color as a cue. Neither method makes recording quality, edge review, or final compositing irrelevant.
The right choice often becomes clear when you look at the source. If a useful interview already exists without a colored backdrop, AI separation may be worth testing. If you are planning a repeatable studio shoot with controlled light and difficult fine edges, a keying setup may deserve consideration. A hybrid process can also make sense when one method handles most of the shot and another fixes a limited problem.
This guide compares the workflows without claiming that BGRemover universally beats a physical green screen. It explains what each method needs, how to plan a fair test, and how to judge the finished composition. The hero illustrates two recording conditions; it is not evidence from a controlled comparison.
How does green-screen removal differ from AI separation?
Green-screen removal targets a selected color range, while AI separation attempts to identify the intended foreground from the image content. Their different cues lead to different strengths and failure modes.
Adobe's keying documentation describes keying a consistent-colored background and notes that the backdrop does not have to be blue or green. The important production choice is a color that can be separated from the subject under the recorded conditions.
AI removal can be useful when the background was not designed for keying. A person recorded in an ordinary room may still be separated from the scene. That flexibility does not mean the model understands every editorial intention: a held object, chair, or second person may need special attention in the review.
Both methods ultimately contribute to a mask or matte that controls what remains visible. The next stages still matter: refining the edge, choosing the replacement scene, matching the composition, and exporting a compatible file.
Our SAM 3 workflow guide explains why a selection model is not a complete editing pipeline. The same principle applies to keying. A successful key or mask is an intermediate result, not a guarantee that the finished shot has believable lighting, scale, perspective, or motion. Compare the complete workflow rather than treating the selection button as the whole production.
When is AI background removal the practical choice?
AI removal is a practical candidate when you have existing footage without a controlled backdrop, limited recording space, or a straightforward subject that needs a new composition. Its main advantage is that it can be evaluated without first rebuilding the shoot around a key color.
A creator may want to reuse a spoken explanation over a screenshot. A teacher may need a presenter beside lesson material. A small shop may want to place a product demonstration against a quieter background. In each case, the useful question is whether the actual source produces an acceptable cutout.
Begin with a representative short segment in the BGRemover video workflow. Include the most difficult movement from the full recording. Review the complete output before assuming that the rest of the footage will behave similarly.
AI does not remove the value of careful capture. Similar foreground and background colors, motion blur, small subjects, and partial occlusion can make separation harder. A calm shot with clear boundaries is a different test from a handheld scene with several people crossing.
Also distinguish convenience from a universal time saving. A successful automatic result may reduce selection work, while a difficult clip may need another take or manual correction. Our faster background-removal workflow focuses on reducing repeated effort around the whole task. Use that perspective when judging whether AI helps your project, rather than expecting every video to finish in the same number of seconds.
When is a physical green screen worth the setup?
A physical screen is worth considering when you can control the shoot and the expected benefits justify the space, lighting, and review effort. It provides a deliberate separation cue instead of asking the editing system to infer the foreground from an uncontrolled scene.
A repeatable studio presentation or effects shot may make that setup practical. You can plan the camera, backdrop coverage, clothing, props, and light together. That control can be valuable when the subject must be reused in several compositions or when precise boundaries are important.
The screen is not a shortcut around preparation. Wrinkles, shadows, uneven exposure, and reflected color can complicate the key. Adobe's Ultra Key guidance recommends even lighting for the screen and describes controls for cleaning the matte and spill.
Plan the subject and screen together
Avoid a key color that closely matches important clothing or props. Make sure the screen covers the area behind the subject throughout the intended movement. A hand leaving the covered region may need an additional mask even if the rest of the key is clean.
Light the subject for the intended replacement environment as well as for clear capture. A perfectly separated person lit from the wrong direction can still look pasted into the new scene. If the shot requires convincing realism, planning that relationship before recording is often more valuable than trying to solve it entirely in post-production.
What usually causes poor edges in each method?
Poor edges come from ambiguous or damaged source information and from selection settings that do not match the shot. The visible symptom may look similar even when the underlying cause differs.
In an AI workflow, the subject may merge with a similar background, disappear during occlusion, or develop unstable detail around hair and hands. In a keying workflow, an uneven screen may require different thresholds across the frame, while reflected green or blue light can remain on the subject after the background is removed.
Do not respond to every edge problem by shrinking the mask. That can remove legitimate hair, fabric, or fingers while leaving the composition unnatural. Identify whether the problem is retained background, missing foreground, color contamination, or temporal instability before changing settings.
| Symptom | Useful question | Possible next step |
|---|---|---|
| Missing fine detail | Was it visible clearly in the source? | Use another take or targeted refinement |
| Colored fringe | Is the original backdrop reflected on the subject? | Review capture and spill treatment |
| Flickering outline | Does selection change through motion? | Inspect the difficult sequence and refine it |
| Background islands | Are openings being retained incorrectly? | Review holes and gaps separately |
| Floating appearance | Is the new scene composition plausible? | Adjust scale, grounding, and perspective |
Our hair and difficult-edge guide offers a more detailed inspection process. The main lesson is to diagnose the failure rather than declare the entire method unusable from one flawed example or universally solved from one easy shot.
How can you compare the methods fairly?
Use matched footage and the same final composition, then record the work needed to reach an acceptable output. A poorly lit screen compared with an easy AI portrait would not establish a general winner.
If you can record both setups, keep the camera, framing, subject, and performance as consistent as possible. Include the movements that matter to the final project. Record enough context to explain the differences that could not be controlled, such as the available room or lighting arrangement.
Define the acceptance criteria before processing. A full-body dance clip needs different scrutiny from a small facecam overlay. A product demonstration may require a held item and fingers to remain complete, while a simple head-and-shoulders explanation may prioritize facial and hair boundaries.
Measure the complete effort. Include screen setup, recording, processing, manual correction, compositing, and export. A method that takes more preparation may reduce later correction, while a convenient recording setup may create more post-production work. Both are valid tradeoffs if they are visible.
Compare the actual exported results at delivery size and normal speed. Retain difficult moments in the comparison rather than showing only the most flattering frame. If one workflow uses manual refinement, disclose it and count the effort.
The background-remover evaluation guide provides a reusable way to record observations. Its purpose is to help you select a method for your workload, not to manufacture a universal accuracy claim from a small sample.
Can you combine keying, AI selection, and manual refinement?
Yes, a combined workflow can be sensible when different methods solve different parts of the shot. The goal is a reliable foreground, not loyalty to a single technique.
A key may handle most of a well-lit screen while a separate mask excludes equipment outside the useful area. An AI selection may provide an initial subject region that is refined around a difficult hand or garment. Manual work can target the exceptions instead of recreating every part of the matte.
Keep the stages understandable. Save or preserve the original source and avoid flattening the result prematurely. If a correction introduces a defect, you should be able to identify which step changed the image. A complicated chain of unrecorded adjustments can become harder to repair than the original problem.
Do not add a second technique simply because it is available. Each operation should address an observed defect. Excessive edge smoothing, repeated erosion, or aggressive spill correction can damage the foreground while making the mask appear superficially tidy.
For a short repeatable take, consider whether reshooting would produce a better result with less work. For irreplaceable footage, deliberate refinement may be the only reasonable path. The decision depends on the value of the source and the required fidelity.
If you need a more controlled desktop environment, the video tool shortlist includes selection workflows alongside browser services. The right combination is the one you can review, explain, and deliver consistently.
How do you make the replacement scene look believable?
Match scale, perspective, lighting, and the subject's relationship to the scene after the foreground is separated. A clean matte alone does not make a convincing composite.
Begin with the camera viewpoint. A person recorded from desk height may look unnatural against a background photographed from near the floor. A full-body subject needs a plausible relationship to the ground, while a floating head-and-shoulders overlay may work better as an intentionally graphic design.
Look at the direction and softness of light. A bright side-lit face can conflict with a flat dim room. You may decide to use a simple color or diagram instead of attempting realism that the source does not support. An honest graphic composition can be more effective than a poorly matched virtual environment.
Keep the replacement from competing with the foreground. A busy moving background can make small edge defects more noticeable and distract from a spoken explanation. For a product clip, ensure that the scene does not imply a different size, material, or included accessory.
Review the result in the final layout. If the subject will sit beside captions or a screenshot, check that it leaves useful space. Our Instagram and TikTok background guide explains this for vertical compositions, where available space is limited.
Whether the foreground came from AI or a key, the final design should serve the viewer. The selection method is a production choice; the audience experiences the combined picture, timing, and sound.
What should you verify before choosing the workflow for a series?
Verify a complete sample from capture through final delivery, then standardize the parts that worked. A recurring production benefits from a documented setup more than from a one-time claim that a method looked impressive.
Check the exported dimensions, duration, and audio. If another editor needs transparency, test the actual file above a colored layer in that editor. If the output is a completed composite, confirm that the replacement and crop match the brief. Input acceptance and output compatibility are separate requirements.
Record the capture setup, processing choices, and review criteria that affected the result. Include known exceptions, such as reflective props or clothing that matches the key color. This gives the next recording session a practical starting point and reduces repeated troubleshooting.
A green screen remains useful when its controlled setup fits the production. AI removal remains useful when ordinary footage needs a new composition or a simpler recording process is important. Neither earns a universal win without evidence from the task you are doing.
To evaluate the AI route, process a representative segment in BGRemover.video and review it through the complete export path. Choose the method that preserves the subject, supports the intended scene, and fits your working constraints. That is a more durable decision than assuming either physical screens or automatic separation have made the other obsolete.
Frequently asked questions
Is AI background removal always better than green screen?
No. AI can be useful for existing or casually recorded footage, while a controlled keying setup can suit a planned production. The better method depends on the source, required control, and final output.
Do AI tools work without a colored backdrop?
They can separate subjects without a deliberately chosen key color. Clear lighting and subject-background separation still help, and difficult motion or fine detail can require correction.
Why does a green screen leave a green edge?
Light reflected from the backdrop can affect the subject, and the key may retain or mishandle that color near the boundary. Better capture and deliberate spill treatment can help; simply erasing more of the subject may damage the edge.
Can green clothing cause a keying problem?
Yes, if the key targets a similar color in both the screen and the subject. Plan clothing, props, and backdrop together rather than assuming the keyer knows which green region you intended to keep.
Should I reshoot or repair difficult footage?
Compare the effort and fidelity of both options. For a short repeatable take, improving capture may be simpler than extensive repair; for irreplaceable footage, a more controlled refinement workflow may be necessary.
Does either method guarantee a transparent export?
No. The selection method and delivery format are separate decisions. Verify the actual output and its alpha behavior in the receiving editor, or export a finished composite when that is all the project needs.