Beginner Video Editing Guide: Finish Your First Film [2026]
Yash Thakker
Author
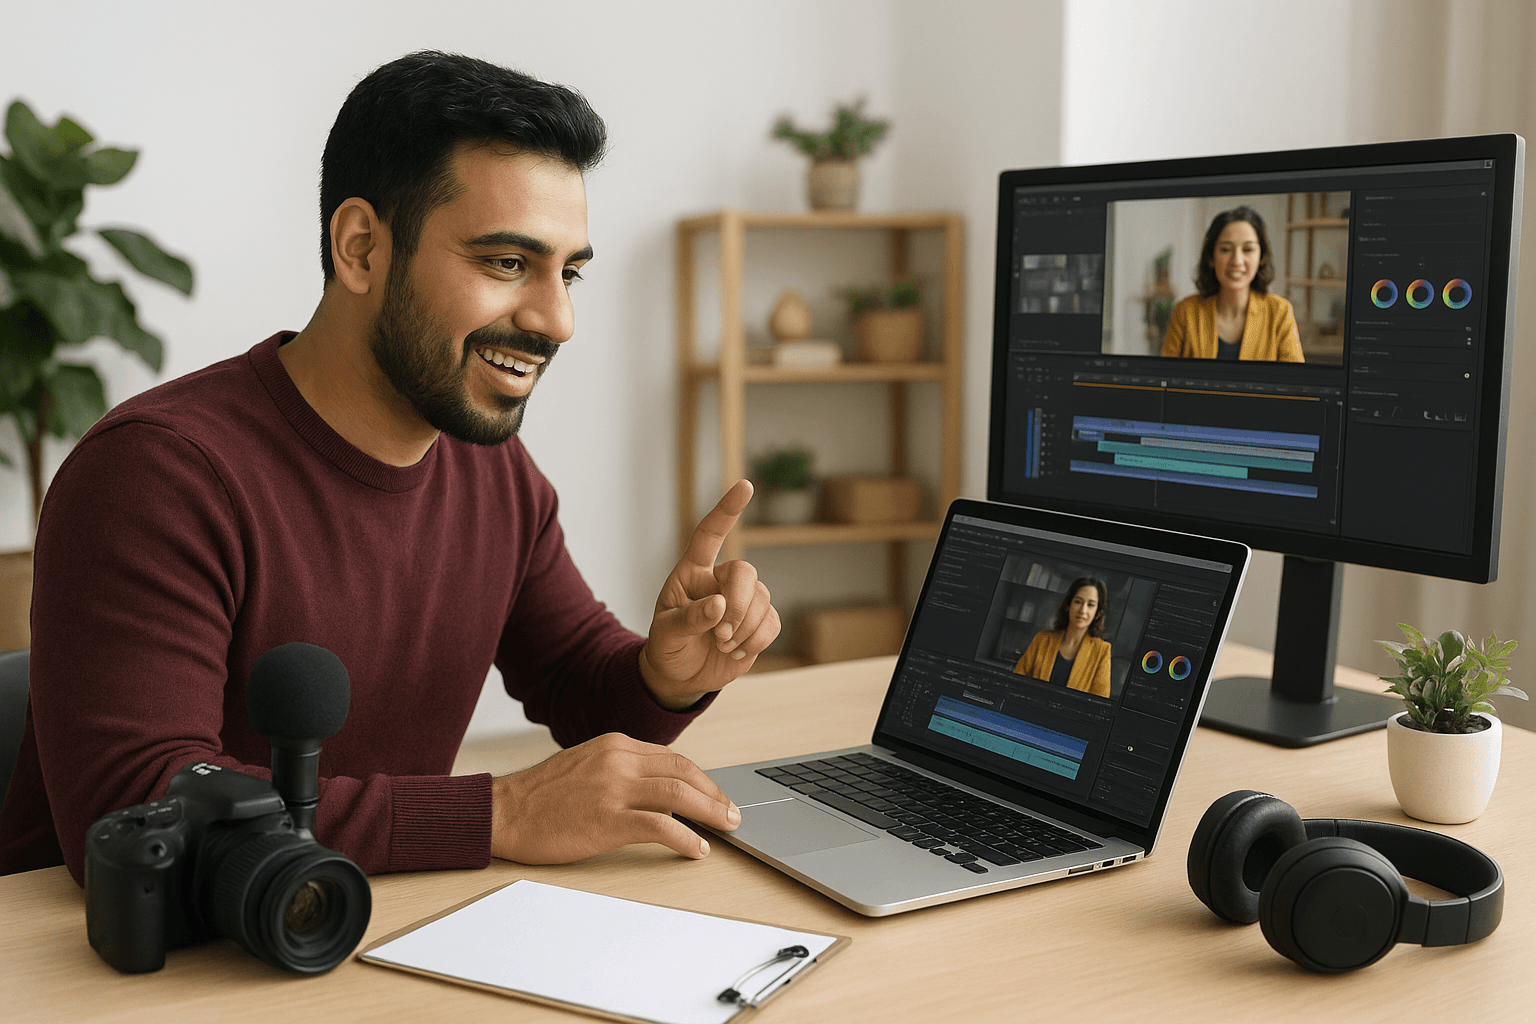
The most useful way to learn video editing is to finish one small project from source footage to a checked export. Choose a clear idea, organise a few clips, arrange them into a sequence, make the sound understandable, and review the final file outside the editor.
You do not need to master every panel before starting. You do need a reliable way to find your footage, make changes without losing the original, and tell whether the finished video communicates what you intended.
This guide follows a simple demonstration or spoken explanation. The same workflow can support a personal film, a product introduction, or a short social post. The goal is a complete first edit, with enough understanding to diagnose common problems and make the next project easier.
What should you make for your first project?
Pick one question or action that can be explained with a small amount of footage. A tightly scoped project teaches the whole editing process without burying you in decisions about a large story.
For example, demonstrate how to pack a small bag, introduce a handmade item, or explain one setting in an application. Identify what the viewer should know at the end. That outcome tells you which shots belong and which can be removed.
Write a simple beginning, middle, and ending. Show the subject, explain or demonstrate the key action, then show the result. This is an organising aid, not a rule that every film must follow the same formula.
Use footage you already have permission to use and can inspect easily. Avoid making the first project depend on many cameras, complicated effects, or an extensive archive. You can add those challenges after completing a straightforward workflow.
Decide where the video will be viewed. A vertical phone post and a horizontal presentation need different framing. Choose the intended layout early so you do not discover at the end that important parts cannot fit the destination.
For a first project intended for a feed, the social-video storytelling guide helps connect the opening with a clear payoff before you start cutting.
How do you choose an editor without getting stuck comparing tools?
Choose a tool that can import your footage, perform basic cuts, handle sound and text, and export the required result on your device. Test those essentials with a small sample before committing the whole project.
The beginner editing-software guide compares useful categories of tools and a practical trial method. The right choice depends on your source, device, and output, not simply on which application has the longest feature list.
Import one representative clip, trim it, add a short title, and export it. Reopen that file. This small exercise can reveal an unsupported source, an inconvenient export restriction, or a performance problem before you have invested hours in an edit.
Check current access and export conditions in the product itself. Free tiers, paid features, account requirements, and available platforms can change. Avoid building a project around an effect you have not confirmed you can actually deliver.
Once a suitable editor passes that test, stay with it long enough to finish the project. Repeatedly switching applications can turn learning into a series of unfinished setup exercises. You can make a more informed comparison after understanding one complete workflow.
How should you organise footage before editing?
Keep the original media, the editing project, and exported versions clearly separated. Use names and folders that let you understand the project later without relying on memory.
Copy the required files into a stable project location. Avoid editing from a temporary download folder or moving sources around after the editor has linked to them. Many editors reference media files rather than storing all footage inside the project document.
Group video, audio, graphics, and exports in a way that suits the job. A small project does not need a complex folder system. It needs enough structure to prevent a music file, a source clip, and a final export from becoming indistinguishable.
Watch the source clips and mark the useful takes. Note where the demonstration is clear and where a mistake or interruption occurs. This short review helps you build the sequence without repeatedly searching through every recording.
Preserve the original files and save the project as you work. An exported video is not a full substitute for the editable project and its sources. If you later need to change a caption or replace a shot, those materials make the revision possible.
What is a rough cut, and how do you make one?
A rough cut is the first workable sequence of the material. Its purpose is to establish order and meaning before you spend time polishing transitions, colours, or small timing details.
Place the selected clips on the timeline in the order the viewer needs them. Remove obvious mistakes and empty starts, but resist perfecting every cut immediately. First check whether the sequence explains the idea from beginning to end.
Use ordinary cuts as your starting point. A transition is a design choice with a purpose, such as indicating a change in time or setting. Adding a different transition between every clip can make the edit harder to follow.
Apple's trim-and-arrange guidance for iMovie illustrates the basic distinction between shortening clips and changing their sequence. The controls differ between editors, but those two operations form much of a beginner's first edit.
Watch the whole rough cut before refining it
Play the sequence without stopping. Write down confusing moments instead of fixing the first one immediately. This gives you a view of the whole piece and prevents a polished opening from consuming all the available effort.
Ask whether each shot supplies needed information. A beautiful extra shot can still delay the explanation. A plain close-up may be essential because it shows the action clearly. Judge the material by its role in the finished sequence.
How do you make cuts feel clearer?
Cut where the viewer has received the needed information and is ready for the next step. Timing should follow the meaning and action, rather than an arbitrary rule about changing shots every few seconds.
Remove repeated explanations and long pauses that do not serve the scene. Keep enough time for viewers to recognise an object, read necessary text, or understand a hand movement. Faster is not automatically clearer.
For spoken material, listen across each cut. A visual edit can accidentally clip a word, remove a meaningful pause, or make a sentence sound unnatural. Adjust the cut with both picture and sound in mind.
For demonstrations, preserve cause and effect. Show the hand reaching for a control and the resulting change when that relationship matters. If you remove too much of the action, the viewer may see a result without understanding how it happened.
Use supporting footage to clarify an explanation. A close-up of the part being discussed is useful when it supplies information the main shot cannot show. It should not be added merely to cover every pause with unrelated movement.
How do you make the audio understandable?
Start by making speech and important product sounds easy to hear. Background music and effects should support them rather than compete with them.
Listen with headphones to identify clicks, abrupt changes, and unwanted noise, then check on an ordinary speaker too. Different playback devices can reveal different problems. Do not rely only on the visual waveform or a level meter.
Balance clips so the listener does not need to keep changing volume between speakers or takes. If the editor offers useful audio meters and controls, learn their basic behaviour before applying several processing effects at once.
Keep music low enough that words remain understandable. Use music you are entitled to include in the intended publication. A track available for one platform or use is not automatically licensed for every export and destination.
If you recorded separate audio, align it before making extensive cuts. Check a visible speaking moment or another clear synchronisation point. Once aligned, use the editor's linked or grouped behaviour where appropriate so later edits do not separate the sound from the picture accidentally.
If the source speech is unusable, consider recording it again. Processing can help some problems, but it is not a guarantee that a distant, distorted, or heavily interrupted recording will become clear.
When should you add captions and titles?
Add them after the main sequence is stable enough that the wording and timing are unlikely to change substantially. Then review them as part of the video, not as a separate text document.
Use titles to identify the topic or a step, and captions to represent spoken information where needed. Keep the purpose of each clear. A decorative headline should not compete with the subtitles for the same small area of the frame.
Check automated captions word by word, especially names, product terms, numbers, and unfamiliar vocabulary. An error can change the meaning even when the timing looks correct. Review punctuation and line breaks so the text is comfortable to read.
Make text large enough for the destination and keep it away from important action. Preview the video at realistic display size. An editing monitor can hide the fact that a caption will be tiny on a phone.
Leave room for platform interface elements where relevant. The social background and framing guide explains why a composition should be checked in the actual publishing preview as well as the editor.
Should you change the background in a first project?
Only when the change solves a clear problem or is part of the intended composition. A distracting room may justify replacement, while a useful real setting may be better left intact.
Test a short section before processing the entire source. Include movement, hair, hands, and any object that must remain visible. Inspect the result at normal speed so a good still frame does not hide an unstable edge.
The online background-removal guide explains the general workflow. If you use a transparent intermediate, confirm that your editor accepts it and displays it correctly over another layer.
Keep the original clip available. Background removal is one possible treatment, not a reason to discard the source. A revised edit may need the original context or a different framing later.
For an aesthetic blur instead of replacement, compare the task distinctions in the video-blur app guide. Softening a room, replacing it, and concealing sensitive details are different requirements.
What if the editor becomes slow or difficult to use?
Identify whether the problem concerns playback, storage, source format, or the complexity of the sequence. A slow preview does not always mean the final export will be damaged, but it can make editing harder.
Try the editor's supported preview-quality or proxy workflow when appropriate. The Shotcut FAQ discusses reduced preview resolution and proxies as ways to work with demanding media. Follow the documentation for your own editor rather than assuming the settings are identical.
Keep enough storage for sources, project data, temporary processing, and exports. If the application reports a storage error, resolve that condition before repeatedly attempting the same export. Protect the originals while managing generated files.
Simplify a troublesome sequence to locate the cause. A short test containing the affected clip or effect can reveal whether the issue follows that element. Make diagnostic changes in a duplicate project so you do not lose the working edit.
When seeking help, record the editor version, source type, operation, and exact error. A description such as export stops on this clip is more useful than saying the software is broken.
How do you export and check the finished video?
Export for the intended destination, then watch the resulting file outside the editor. The delivery file is the outcome you need to verify.
Confirm orientation, dimensions, duration, selected range, and audio before exporting. Use a suitable documented preset when available, and understand which settings it chooses. Avoid changing unfamiliar options randomly in pursuit of a vague idea of maximum quality.
Open the export from its saved location. Check the beginning and ending, captions, sound, difficult cuts, and any processed background. Watch once without stopping to catch pacing problems as well as technical defects.
If the export differs from the preview, check missing media, muted tracks, selected ranges, and the effects used near the problem. Change one likely cause at a time and test a short section where possible.
Ask another person what they understood and where they became confused. Use that feedback to make a focused revision rather than adding effects indiscriminately. Keep a clearly named approved export and preserve the editable project.
For a background change in your first film, try one representative clip in BGRemover and verify it in the full edit. Finishing a small, understandable video will teach you more about the workflow than collecting a long list of features you have not yet used.
Frequently asked questions
What should my first video-editing project be?
Choose a small project with one purpose, a few usable clips, and a clear ending. A short demonstration or explanation lets you practise the complete workflow without a large amount of footage.
Do I need an expensive editor to learn?
You need an editor that handles your source files and required output. Test importing, cutting, audio, text, and export before investing heavily in a particular workflow.
Should I add effects before making cuts?
Build a clear sequence first. Once the order and timing work, add sound adjustments, captions, and visual treatments that support the message.
Why does my exported video differ from the preview?
Export settings, missing media, muted tracks, selected ranges, or processing issues can affect the output. Reopen the final file and inspect it rather than assuming the editing preview proves delivery quality.
When should I remove a video's background?
Use removal when it helps the composition or eliminates a distracting setting. Test difficult movement and confirm the output works in your editing workflow before treating it as a required step.
How can I improve after finishing the first project?
Ask a viewer what they understood and where they became confused, then choose one specific skill to improve on the next project. Keep the source files and project organised for future revisions.