Remove Background from MP4: A Practical Guide [2026]
Yash Thakker
Author
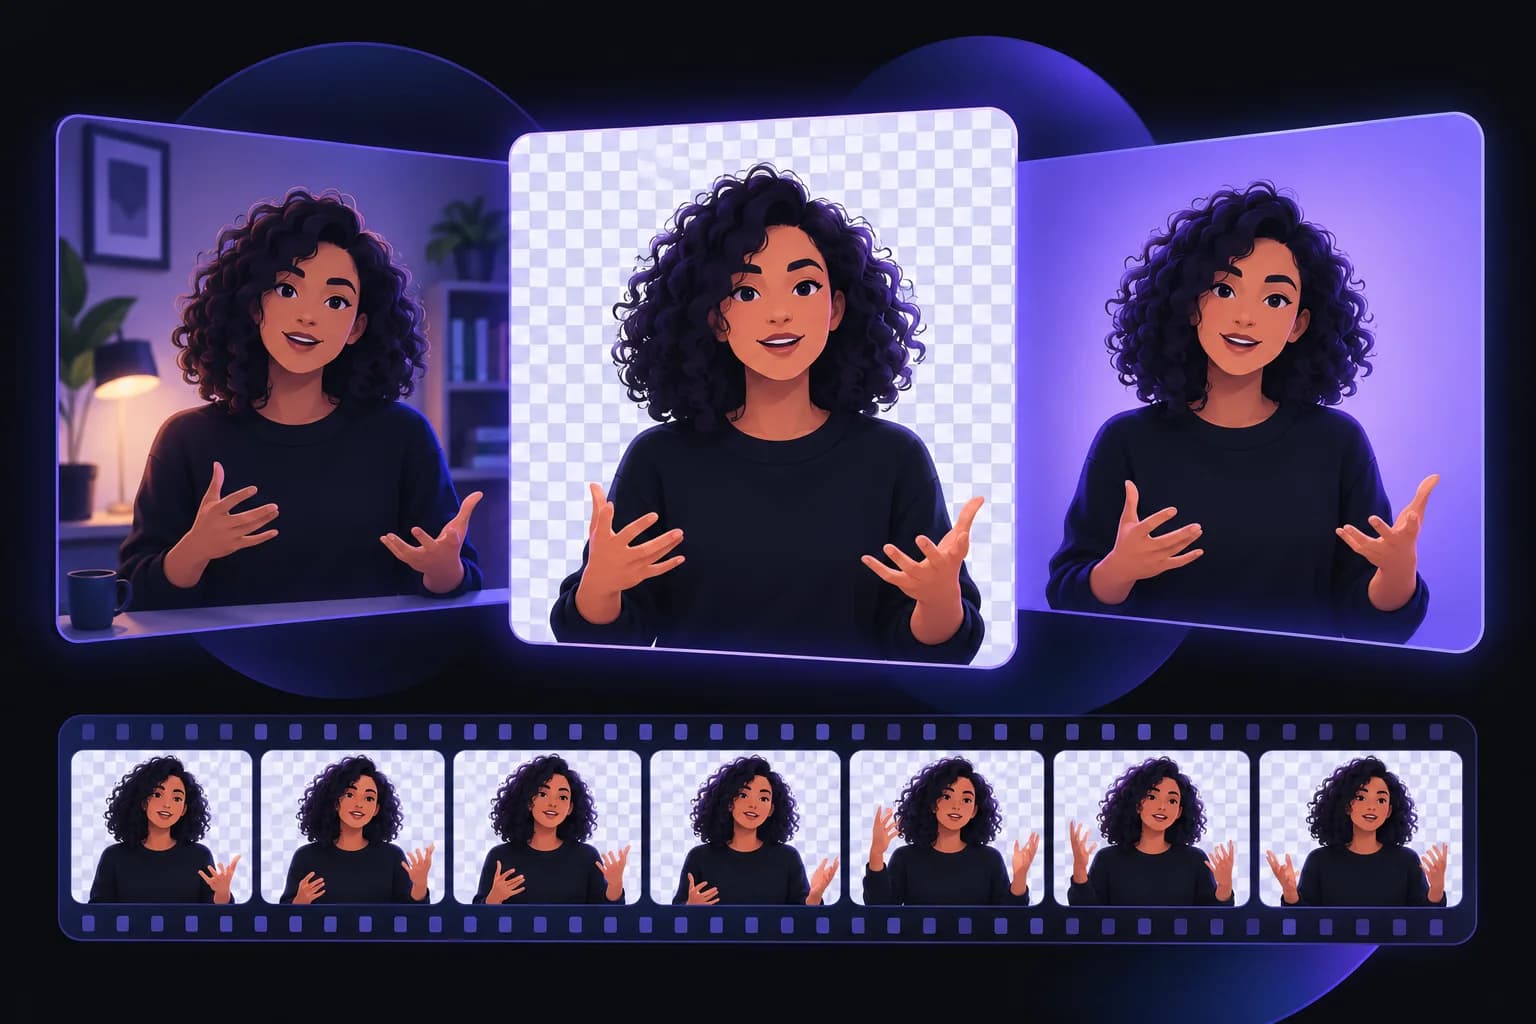
To remove the background from an MP4, start with a short section of your recording, separate the foreground, and inspect the exported result before processing everything. The task sounds simple until a hand disappears, loose hair flickers, or an apparently transparent download opens against black. Those problems have different causes, so repeatedly pressing the same button is rarely the best diagnosis.
An MP4 file tells you something about the container, but it does not tell you whether the footage is easy to separate or whether the final export can store transparency. A sharp presenter against a plain wall and a spinning glass product against a busy shop are very different editing jobs, even if both filenames end in .mp4.
This guide walks through preparation, processing with BGRemover.video, edge inspection, and delivery. It also explains when a replacement background is the simpler choice and when you need an editable foreground for another project. Keep your original recording, decide where the finished clip will be used, and test the most difficult moment first. Those three decisions save avoidable rework throughout the process.
Can you erase an MP4 background without a green screen?
Yes, AI background removal can separate a subject from ordinary footage without a green screen, but the quality depends on the scene. The software estimates which parts belong to the foreground. It does not recover a perfect outline simply because the input is a familiar video format.
A useful starting clip has one clearly framed subject, fairly consistent lighting, and enough visual separation from the wall or room behind it. That is a practical filming preference, not a requirement to buy a backdrop. Moving a chair away from a similarly colored wall or turning toward a window may make the recording easier to edit.
The difficult cases are equally practical. A sleeve crossing another person, hair against a dark shelf, or a reflective product can leave the boundary ambiguous. If your hand moves quickly enough to blur, its pixels mix with the background during exposure. Removing the room while preserving every faint finger detail then becomes a more demanding task.
Choose the section that is most likely to fail
Do not judge the whole video from its opening frame. Select a sample that includes a head turn, a hand gesture, and any object the presenter picks up. If the subject leaves the frame and returns, include that transition. For a product, include its most reflective angle.
You can start with the video background removal feature. If the footage contains delicate strands or soft boundaries, the separate guide to hair and edge problems explains what to inspect more closely. The goal is a usable composite throughout the action, not one impressive still frame.
What should you prepare before uploading the MP4?
Prepare an untouched source copy, a short test clip, and a clear delivery requirement before uploading. This gives you a way to compare results and prevents uncertainty about whether an export needs a new background or real transparency.
Write down the intended use in one sentence: a presenter over slides, a product against white, or a complete social video with a branded backdrop. Each leads to a different delivery decision. An overlay needs reusable transparency; a finished advertisement usually needs the chosen background already combined with the subject.
Check that the original plays correctly on your device. Listen to the start and end, look for rotation problems, and confirm the framing. A recording that already has missing audio or incorrect orientation should be corrected before you assess background removal. Otherwise, an unrelated source problem can look like a processing failure.
Preserve the best available source
Use the original camera file when you have it rather than a copy downloaded from a messaging app. Repeated compression can make small boundaries harder to inspect. Cropping can remove distractions, but leave space for moving hands and hair; a tighter crop cannot restore a limb that leaves the picture.
Keep the source and test output in separate folders with descriptive filenames. For example, a name containing the shot, take, and intended background is easier to review than several files named final. These are organizational suggestions, not requirements imposed by BGRemover.video.
Finally, read the file and usage limits shown in your current upload flow. Product limits and credit offers can change. The BGRemover.video upload page and your account should guide that decision rather than a price or allowance remembered from an older tutorial.
How do you remove the background with BGRemover.video?
Open BGRemover.video, upload the sample, choose the background treatment offered by the editor, and review the processed result before downloading. The important part is checking each stage against your actual project instead of assuming the preview proves the final file is ready.
Upload and confirm the subject
Start from the BGRemover.video workspace and select your MP4. Confirm that the displayed clip is the intended take. If the file is rejected, read the error first: a file-size limit, unsupported encoding, and failed transfer need different remedies. Changing the filename extension does not convert its contents.
Choose the intended background treatment
Decide whether this is a finished scene or an intermediate asset. For a finished scene, choose the replacement background available in the workflow and inspect the subject against it. For an overlay, check the available transparent-output option and its export format before committing the entire recording.
Avoid selecting a busy replacement just because it disguises a poor edge. That may hide a missing fingertip in the preview but create an obvious problem when the scene changes. A simple contrasting background makes the first inspection easier.
Review and download a sample
Wait for processing to finish, then inspect movement instead of relying only on a still preview. Download the result and open it in the application that will actually use it. A clip intended for slides should be tried in those slides; an overlay intended for an editor should be placed above another track.
If your project involves several distinct shots, establish a working result for each filming setup. One good close-up does not prove a wider shot will behave identically. Keep a short note of which source, background, and export produced the accepted sample so you can repeat the workflow consistently.
Can MP4 store a transparent video background?
A normal H.264 MP4 delivery file does not carry the transparency you need for a reusable foreground overlay. Removing the background during processing and saving an alpha channel during export are separate steps.
MP4 is a container, while a codec determines how the video is encoded. MDN explains this distinction in its media container guide. For practical editing, that means a file extension alone is not enough information to approve a transparent deliverable.
| Intended result | What to request or check | Acceptance test |
|---|---|---|
| Complete social video | Subject combined with the chosen background | Play the downloaded clip and verify the whole frame |
| Foreground for another edit | Export that includes alpha and works in the destination | Place it above a colored layer in that editor |
| Web animation overlay | Codec, alpha support, and playback compatibility | Test the actual browser and page implementation |
| Archived editing source | Original recording plus accepted intermediate output | Reopen both and record the export settings |
Treat format examples as compatibility guidance
Apple documents alpha support in ProRes 4444 and ProRes 4444 XQ. The WebM project also documents a method for storing alpha information with VP8. These examples explain why transparent workflows exist; they are not a promise that every listed format appears in the BGRemover.video export menu.
Check the current export choices and the receiving application together. If a compatible transparent export is unavailable, finish the composite with its replacement background before making the normal delivery video. The transparent-video guide covers the broader workflow, but the final decision should always be confirmed with an actual file.
Why do hair, hands, and clothing edges flicker?
Edges flicker when the estimated boundary changes visibly between frames. A still cutout can look acceptable while a moving sequence reveals parts of the subject appearing and disappearing.
Watch the areas where foreground and background are difficult to distinguish. Dark hair beside a dark curtain, a loose sleeve in motion, and a transparent object can all expose uncertainty. The correct response depends on the failure: better source footage may help more than a different export format when the subject itself has already been cut away.
Inspect the footage at two speeds
First, watch at normal speed to judge whether the distraction matters to a viewer. Then pause or scrub around the problematic movement to identify the exact boundary. Do not enlarge a single frame indefinitely and lose sight of the actual delivery size, but do not dismiss repeated missing fingers as a minor detail either.
Compare the cutout over both a light and a dark background if your editor allows it. A bright fringe can vanish against white and become obvious against a dark slide. Check the shoulders, spaces between fingers, and the points where props overlap the body.
If a different take exists, compare it before spending time rescuing the hardest one. Re-recording a short line with steadier lighting can be the practical choice. When a shot is irreplaceable, manual masking or specialist compositing may be appropriate. The green-screen replacement guide provides context for choosing a filming approach instead of assuming one method solves every scene.
Why does the exported clip show a black background?
A black background can mean the player is displaying transparent areas against black, or that the export no longer contains transparency. Those situations look similar in a basic player and need a more useful test.
Import the file into an editor that supports its encoding, place a solid-color layer underneath it, and look for that color around the subject. If the color shows through, the file can carry usable transparency in that workflow. If it does not, check the export settings and the receiving editor before concluding that background removal itself failed.
Changing .mp4 to .webm or .mov in the filename does not add missing alpha data. Likewise, converting a flattened video into a transparency-capable codec will not automatically reconstruct the removed background mask. You need an export that retained the foreground separation or a new processing step.
Separate edge problems from playback problems
If the whole transparent area is black, investigate file compatibility. If only a thin dark or bright outline surrounds the subject, investigate how the editor interprets the edge and whether the original background contaminated those boundary pixels. These are different symptoms and should not be grouped under one vague complaint about quality.
For a finished promotional clip, transparency may be unnecessary. You can often combine the presenter and the intended backdrop before export, then review a conventional delivery file. For a reusable presenter that must move between slides or scenes, verify the overlay route early. That decision belongs at the sample stage, while a failed compatibility test is still inexpensive to correct.
Which projects benefit most from this workflow?
MP4 background removal is most useful when the subject is the message and the existing room adds unwanted distraction. It can simplify a presenter clip, create consistent product scenes, or help reuse approved footage across several layouts.
A training team might record the same speaker in different rooms and place each clip on a consistent slide background. The useful acceptance criteria are stable face and hand edges, readable slide content, and correct speech synchronization. The backdrop should support the lesson rather than compete with it.
An online seller might want a product demonstration against a neutral scene. In that case, verify the entire product silhouette, handles, moving parts, and reflections. A visually cleaner result is not automatically a more accurate product representation. Avoid removing accessories or changing the apparent outline simply because the mask treats them as background.
A creator recording a facecam or devlog may need room for captions and screen recordings. Test the presenter at the actual overlay size. An outline that looks unobtrusive full-screen may become distracting when squeezed into a corner.
There are also projects where retaining the environment is the clearer choice. A property walkthrough or documentary interview can depend on its setting for meaning. Remove a background when it helps communicate the intended subject, and preserve the original whenever context matters. BGRemover.video is one editing step within that decision, not a reason to replace every scene automatically.
What should you check before publishing the finished MP4?
Watch the complete downloaded file in its intended destination before publishing. A successful processing status confirms that a job finished; it does not confirm every visual and audio detail that your project requires.
- Check the first frame, final frame, and every cut between shots.
- Watch hair, hands, props, and clothing during movement.
- Confirm the intended background and framing at the final display size.
- Listen for missing audio, clipping, or obvious synchronization problems.
- Open the file in the destination editor, presentation, or publishing workflow.
- Keep the source recording and identify the approved export clearly.
For teams, assign one person to review the final combined scene rather than only the isolated subject. A good cutout can still cover an important caption or look inconsistent with another speaker. A short acceptance note describing the checked destination also makes handoffs easier when another person schedules the content.
To remove a background from MP4 reliably, make a representative sample your first deliverable. Separate the questions of subject quality, transparency, and destination compatibility, then expand to the remaining footage once those checks pass. Try your sample in BGRemover.video and judge the exported result against the purpose of the video, not just the appearance of its preview.
Frequently asked questions
Can I remove the background from an MP4 without a green screen?
Yes, an AI background remover can estimate the foreground from ordinary footage. Results depend on lighting, movement, occlusion, and how clearly the subject separates from the room. Test a difficult section before processing your complete recording.
Will the downloaded MP4 have a transparent background?
An ordinary H.264 MP4 export does not preserve an alpha channel. If you need an overlay, check whether the chosen export includes transparency and whether your destination supports it. Otherwise, combine the subject with its final background before exporting a normal MP4.
Why does my cutout have a black background?
A player can display transparent areas as black, but the file may also have been flattened during export. Place it above a colored layer in an editor that supports its codec to distinguish those situations. Renaming a file extension cannot create transparency.
How do I reduce flickering around hair and hands?
Begin with footage that has clear edges, stable light, and limited motion blur. Review the moments when hands cross the body or hair blends into the wall. If important details disappear, a different take or manual masking may be more reliable than repeatedly exporting the same cutout.
Does background removal change the original MP4 on my device?
Keep an untouched local copy and save the processed result as a separate file. A background-removal export is a new deliverable, and its compression, timing, or audio should be checked before replacing an existing asset. Give versions distinct names so the source remains easy to find.
Should I process a full recording or a short sample first?
Start with a short sample containing the hardest movement, occlusion, and lighting in the recording. Check the exported result in the destination editor or publishing workflow. That test reveals problems an easy opening frame can hide.