How to Make a Transparent Background Online in 2026
Yash Thakker
Author
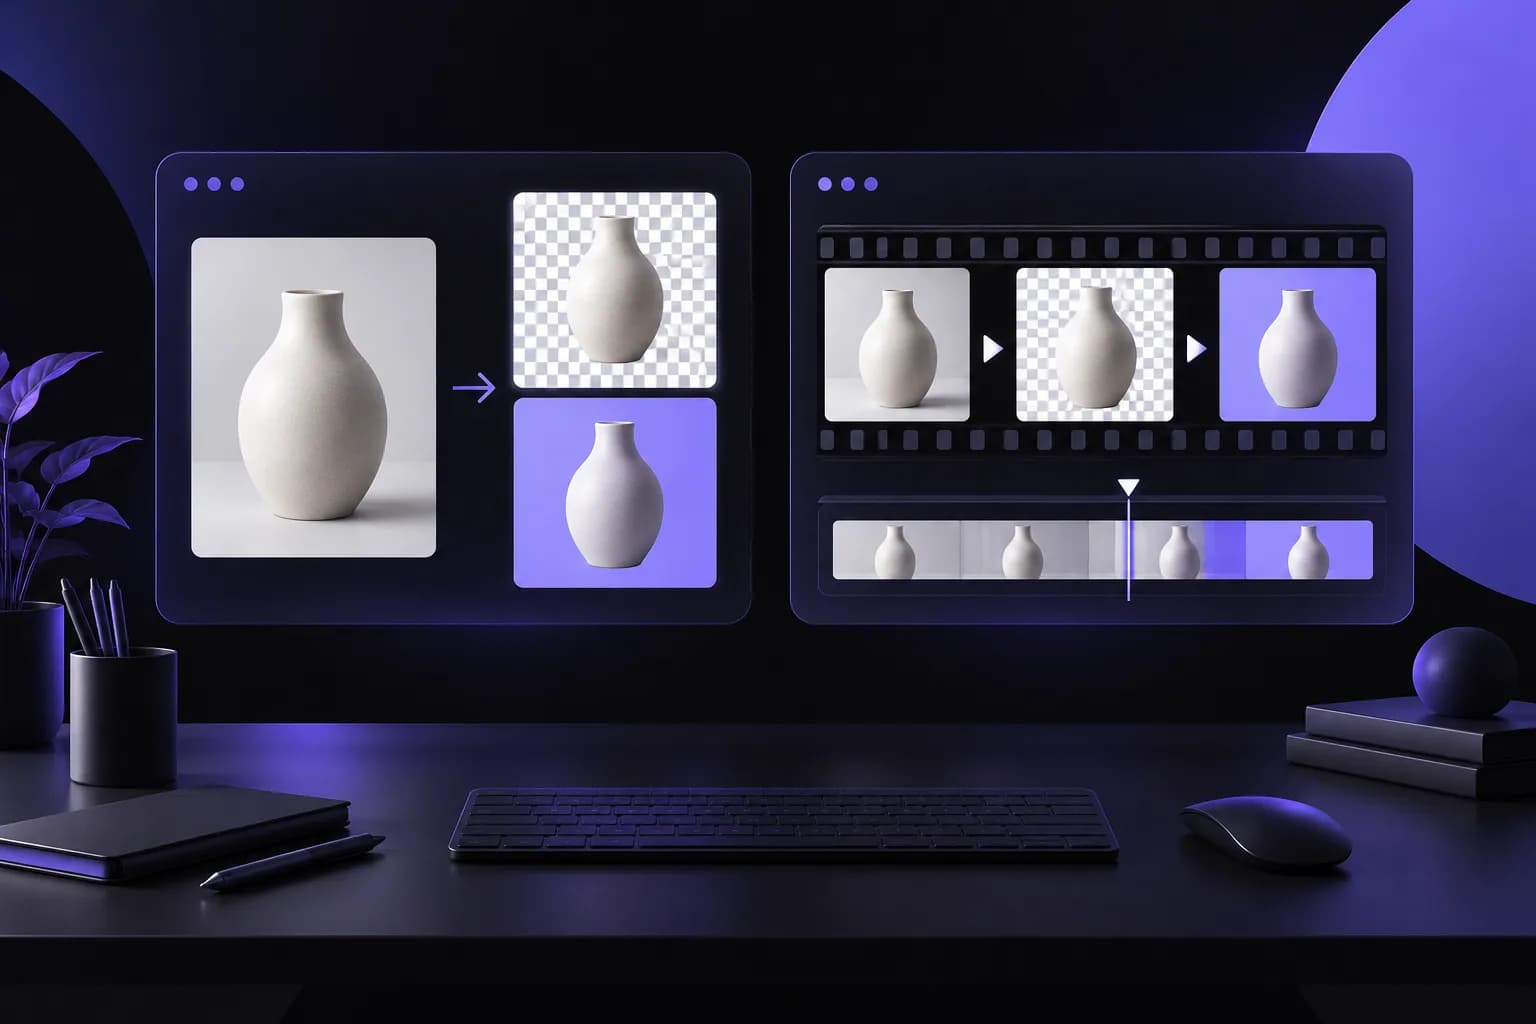
To make a transparent background online, upload an image to a background-removal tool, inspect the retained subject, and download an output that preserves transparency. Then place that downloaded file over a different colour. This final check matters: a white preview or a checkerboard does not, by itself, prove that the background is transparent.
The useful result is an asset you can move between layouts. A product cutout might appear on a landing page today and in a presentation tomorrow. A portrait may need a different backdrop for each campaign. Preparing one reliable master prevents repeated removal work, but reliability depends on edges, interior openings, and export settings as much as the first automatic selection.
This guide focuses on still images. If your source is a moving clip, the video background-removal workflow covers the additional timing, audio, and output checks. The illustration above explains a workflow; it is not evidence of a measured product result.
What is a transparent background actually storing?
Transparency lets the content behind an image show through some or all of its pixels. It is different from replacing the background with white, matching a website colour, or painting a checkerboard around the subject.
The W3C PNG specification describes the format's transparency and alpha-channel capabilities. At a practical level, alpha can represent fully visible, fully transparent, and partially transparent pixels. Those intermediate values matter around curved edges, fine hair, and soft details.
Imagine placing a cutout over a navy slide. An opaque white border remains white. A transparent area reveals the navy slide. A partially transparent edge combines with the underlying colour, which can help a smooth outline but can also reveal contamination from the original backdrop.
Do not judge transparency solely by the file extension. A PNG can contain a completely opaque photograph. It can also contain a picture of a checkerboard. The extension describes a format that can support the result; it does not certify how that particular image was prepared.
Why do editing apps use a checkerboard?
The checkerboard is usually a display convention that helps distinguish empty areas from white artwork. It should disappear when the asset is placed over another layer. If the squares remain visible as part of the picture, they may be actual image content.
This distinction is especially useful when you obtain an asset from an image search or copy a preview. Download the intended source file instead of taking a screenshot of its preview. A screenshot captures the displayed canvas, including any visible grid, rather than preserving the original transparency.
Which source image will produce a useful cutout?
Choose a source where the complete subject is visible, reasonably sharp, and separated from its surroundings. Removal cannot restore a cropped handle, invent an unseen sleeve, or recover detail that the original photograph never captured.
Start with the highest-quality original available to you. A file repeatedly saved through messaging apps may contain rough contours or lost detail. Enlarging that copy can make its pixels bigger without restoring the missing information.
Check the subject's boundaries before uploading. White shoes against a pale floor, dark hair against a dark wall, and thin plant stems against foliage require more careful review than a solid object against a distinct background. These examples are not automatic failures; they identify where your attention will be needed.
Decide what belongs in the foreground. For a handbag, that could include a thin strap and the opening between its handles. For a portrait, it might include glasses and an earring. For a product photograph, a hand holding the product may or may not be part of the intended asset.
Keep the original separate from your working output. A transparent cutout is useful, but it is not a replacement for the source. You may later want a wider crop, a different shadow treatment, or a detail that was accidentally excluded from the first selection.
For garments, see the clothing-photo background guide. Cuffs, loose threads, translucent fabric, and spaces between sleeves need a more specific inspection than a quick glance at the silhouette.
How do you remove the background online?
Use the image workflow, process a representative source, and inspect the result before committing a whole collection. The first image should prove that the workflow produces the kind of asset you need.
Open BGRemover and choose the image option offered in the current interface. Upload a file you are permitted to process. Confirm that you selected the intended source rather than a compressed preview or an earlier edited version.
After processing, look at the entire subject first. Is every required part present? Are there accidental holes in the body of the object? Did a nearby prop remain even though it should have disappeared? These larger selection errors matter more than polishing a small edge on an otherwise unusable cutout.
Next inspect the boundary. Zoom in far enough to identify obvious problems, then return to the intended display size. A small imperfection that dominates a large zoom may be irrelevant to a tiny thumbnail, while a missing handle remains a substantive error at any useful size.
Select a transparent output if your goal is a reusable cutout. A colour replacement creates a different deliverable. Check the current export options, credit requirements, and account conditions in the interface rather than assuming every workflow has identical access or pricing.
Download the actual output file. Avoid copying the preview or using a browser screenshot as a substitute. Give the file a name that identifies the subject and its status, such as a product code followed by transparent-master, so it is not confused with the original photograph.
How can you tell whether the downloaded file is transparent?
Import the downloaded file into a design or editing application and place a strongly contrasting background underneath it. If that background shows through the removed area, transparency is working in that application.
Repeat with a light and a dark background. This is a practical way to reveal pale fringes, dark outlines, and opaque islands that are difficult to see on a single preview. A bright contrasting colour can make small remnants easier to find, but the final destination remains the most relevant test.
Move the cutout slightly or change the lower layer's colour. The surrounding area should respond as part of the composition. A painted checkerboard or an opaque rectangle moves with the image and remains visible.
Check openings as well as the outside edge
Inspect the gap inside a mug handle, between fingers, or between chair legs. Background removal can produce a convincing outer outline while leaving original scenery inside an opening. These small enclosed spaces often reveal whether the cutout is actually ready for reuse.
For a logo, check counters inside letters and spaces between separate marks. Do not automatically erase every light region: some white regions may be intentional parts of the design. Compare with the approved original so cleanup does not change the logo itself.
Finally, reopen the saved output instead of trusting an unsaved editing canvas. The export step can flatten layers or apply a background. Testing the downloaded file catches a failure that the working preview would not reveal.
Why does a white box or grey grid still appear?
A persistent box usually means either the file contains an opaque background or the receiving application displays transparency against a fixed canvas. Test the file in a layered composition before deciding which problem you have.
If it works over a coloured layer but looks white in a simple image viewer, the viewer's presentation may be the explanation. The asset does not need another removal pass merely because one viewer uses white behind it.
If it blocks the coloured layer, inspect the export. You may have downloaded the original, chosen a filled background, flattened the result, or saved through a format that did not preserve alpha. Return to the transparent master and export again using the appropriate option.
If a checkerboard remains, determine whether it is embedded in the source. Automatically removing those squares may damage delicate edges or artwork that shares their colours. Whenever possible, obtain the real asset from its owner or recreate the cutout from the original photograph.
Do not rename a JPEG to give it a PNG extension. File naming does not create transparency. The MDN image-format guide distinguishes the transparency capabilities of common formats; standard JPEG is unsuitable for preserving a transparent cutout.
Also check the destination pipeline. A website upload, presentation export, or content-management system may transform the file. If the local asset works but the published version does not, investigate that transformation before repeatedly altering the original cutout.
How do you fix halos and rough edges?
First identify whether the problem comes from the selection, the original photograph, or the new background. Different causes require different corrections; repeating the same removal without changing anything may reproduce the same result.
A pale fringe can contain colour from the old backdrop. A hard outline can come from an overly aggressive selection. A ragged edge can reflect a low-resolution source. Compare the cutout with the original at the same scale so you do not remove real subject detail while chasing an artifact.
If your editing workflow offers mask refinement, work locally on the affected region. Preserve the full object rather than shrinking every edge to hide one troublesome area. An all-over correction may erase thin straps, hair, or lettering that was previously correct.
Sometimes changing the intended composition is sensible. A soft edge that looks natural against a similar brightness may look harsh against an extreme contrast. That does not excuse a wrong cutout, but it helps distinguish an asset suitable for one placement from a universal master.
For a heavily blurred subject or a transparent object containing the original surroundings, a better source photograph may be the most efficient fix. Keep an exception queue for these assets so one difficult image does not hold up an entire collection.
The editing-efficiency guide explains how to separate source problems, selection problems, and delivery problems. Making that distinction avoids spending time at the wrong stage.
Should shadows and reflections stay in the image?
Keep them only when they are intentional parts of the reusable asset and will make sense in its destinations. A subject can be accurately isolated while its original floor shadow looks wrong on a new surface.
A grounded product image may benefit from a restrained contact shadow in the final composition. A logo or interface icon generally needs a different treatment. Decide this from the design purpose, rather than treating every shadow as either required or unwanted.
Reflections need particular care. A glossy bottle may visibly contain the old room. Removing the surrounding background does not automatically remove reflected scenery from the bottle itself. Glass may also transmit the original backdrop through its body.
Review such products against the intended replacement before approving the cutout. If the result misrepresents the material or appearance, use a different source, retain an appropriate original setting, or arrange more controlled photography. A transparent outer area alone does not make every object portable between every scene.
How should you save and hand off reusable assets?
Keep the original, the transparent master, and destination-specific versions clearly separated. This gives later editors a reliable starting point without forcing every published file to use the same background treatment.
Record the subject identifier, approved dimensions, and any limitations that matter. A note such as reviewed for light backgrounds is more useful than a vague claim that the file is perfect. If the asset needs a dark-background variant, name that variant clearly.
Test the image at its real output size. A very large file is not automatically a better website asset, and a small thumbnail may be unsuitable for a printed poster. Prepare the dimensions required by each destination while retaining the master for future work.
If a platform needs a solid background, create a flattened derivative from the master. Reopen that derivative and check its colour, crop, and edge appearance. Keeping the master intact allows you to make another version without starting removal again.
Share a simple preview alongside the actual transparent file when handoff confusion is likely. Label the preview as a preview, and identify the master explicitly. This prevents a colleague from publishing a screenshot that happens to show the transparency grid.
Start with one representative image in BGRemover, test the downloaded cutout over your intended background, and approve it before processing the rest. A verified reusable asset is the goal; the first attractive preview is only one step toward it.
Frequently asked questions
Does a PNG file always have a transparent background?
No. PNG supports transparency, but a particular PNG may still contain an opaque white background or a checkerboard painted into its pixels. Place it over a contrasting colour to check the actual file.
Why does my transparent image look white?
A viewer may display transparent areas on a white canvas, or the export may contain white pixels. Import the downloaded file over a coloured layer to distinguish those cases.
Can changing a JPEG filename to PNG create transparency?
No. Renaming a file does not remove any pixels or create an alpha channel. Remove the background and use an export option that preserves transparency.
How should I check a transparent cutout?
View it over light, dark, and contrasting backgrounds, inspect fine details, and test it at the size and in the application where it will be used.
Can transparent objects be cut out perfectly?
Glass, veils, reflections, and similar materials can contain information from the original surroundings. A simple cutout may retain that information or remove useful detail, so inspect carefully and consider a different photograph.
Should every published image stay transparent?
No. Keep a reusable transparent master when useful, then create a flattened version if the destination needs a fixed background or does not preserve transparency.