Change Clothing Photo Backgrounds: A Clear 2026 Guide
Yash Thakker
Author
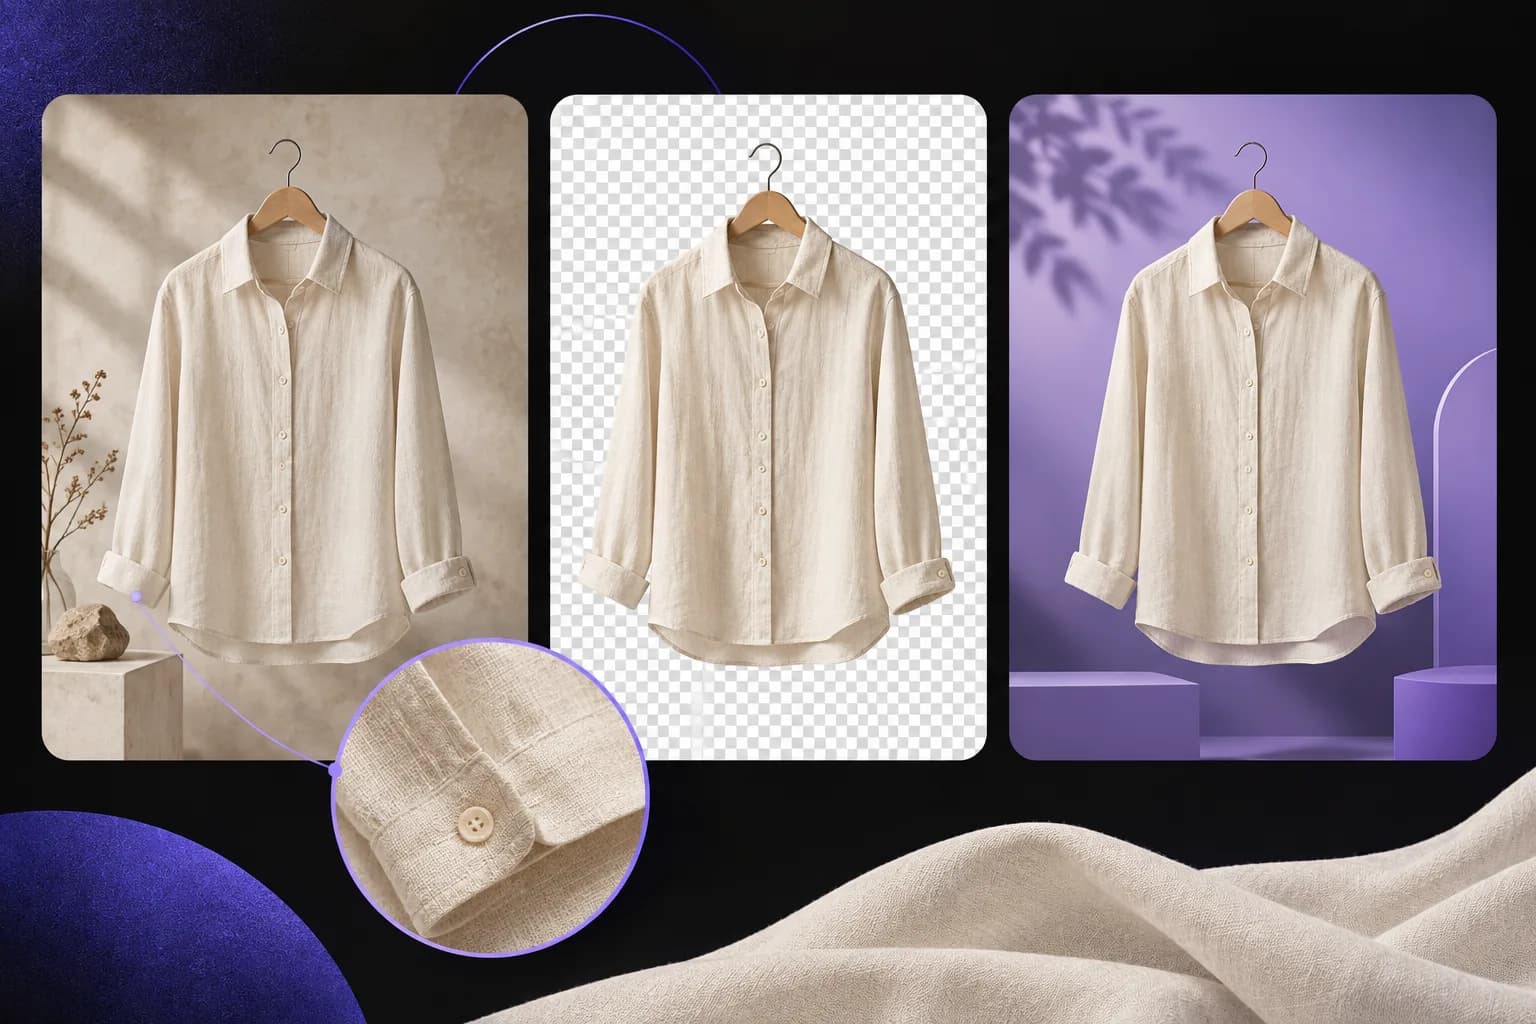
Changing a clothing photo background can make a catalog easier to browse, but the garment must remain the same garment. A clean backdrop is not a successful edit if it removes a thin strap, fills a lace opening, changes the apparent color, or turns a sheer panel into opaque fabric. Those details help a shopper understand what they are buying.
Automatic removal can handle the initial separation, especially when the original photo gives the garment a clear outline. The complete job still includes choosing the replacement, arranging the image, checking the export, and reviewing delicate areas. Treat the one-click idea as a convenient starting action rather than a promise that every clothing image is finished without inspection.
This guide covers flat lays, hanging garments, and on-model photos. It explains how to choose white, transparent, or branded backgrounds; how to handle difficult fabrics; and how to keep a series consistent without erasing the differences between products. The hero is a workflow illustration, not a measured before-and-after test.
Which background should you choose for clothing photos?
Choose a background that makes the garment's outline, color, and relevant details easy to see while meeting the requirements of its destination. A catalog image and a campaign visual can reasonably use different treatments.
A plain white or neutral background can make a collection feel consistent and leave the garment as the main subject. A restrained brand color may work for a campaign or social layout. A lifestyle setting can communicate how an item is worn, but it should not obscure the product or imply that unrelated props are included.
Etsy's product-shooting guidance recommends considering neutral backgrounds when uncertain. That is photography guidance, not a rule that every marketplace requires white. Check the exact destination's current image requirements before preparing a large set.
| Intended use | Useful starting background | Detail to review |
|---|---|---|
| Consistent catalog | White or a restrained neutral | Garment separates clearly from the canvas |
| Reusable design asset | Transparent | Fine details remain intact on different colors |
| Branded campaign | A controlled brand color or scene | Backdrop supports rather than dominates the item |
| Fit demonstration | A simple scene around the model | Shape, length, and movement remain readable |
| Fabric close-up | A quiet, unobtrusive surface | Texture and stitching receive enough attention |
For a pale garment, test whether white hides the boundary. For a dark garment, check that a dark branded scene does not swallow the sleeves or hem. The best background is one you can justify from the product and the viewing context, not a color chosen solely because another shop uses it.
How should you prepare the original clothing photograph?
Prepare a photo with a complete garment outline, clear lighting, and visible fabric detail. Background removal can separate what was recorded, but it cannot reliably recover a cuff or seam that is missing from the source.
Smooth the garment enough to show its intended shape without pretending that natural texture does not exist. Arrange sleeves, straps, and hems so they do not merge unnecessarily with the background. Leave room around the full item and confirm that small attachments remain inside the frame.
For a hanging garment, decide whether the hanger belongs in the final image. For a mannequin shot, decide which support areas should remain visible. Removing the support is not always the same as removing the background: it may reveal an interior surface that was hidden from the camera. That requires a different photographic or retouching approach.
Protect color before editing
Use consistent lighting across variants and avoid mixing strong light sources with different color casts. Shopify's product-photography guidance notes that lighting choices can create reflections, harsh contrast, and undesirable color shifts. Replacing the background does not automatically correct those source problems.
Keep the original image at its available quality. Avoid repeatedly resaving compressed copies before the cutout, especially when fabric texture is important. If the photo is soft or badly exposed, consider reshooting before spending time on the replacement. An accurate, clear original makes every later decision easier and gives you a reliable reference for checking that the final garment still represents the product.
How do you change the background without losing garment details?
Separate the garment, inspect the selection, and choose the replacement only after confirming that the required details survived. This order makes a missing feature easier to identify before the new scene distracts from it.
Begin with the BGRemover image background-removal workflow. Upload the source and review the available background and export choices. Check current credit and processing conditions in the application rather than relying on an old promise that every mode is free.
Compare the cutout with the original. Inspect the full hem, collar points, cuffs, belt loops, narrow straps, and spaces between garment parts. For an on-model image, decide whether accessories and hair belong in the intended foreground; their presence should be deliberate rather than an accidental consequence of selection.
Place the result over a light and a dark diagnostic background. This helps expose retained color around an edge and small missing areas. Then switch to the actual destination background and review the image at its intended display size.
Do not approve the output just because the center of the garment looks good. Background-removal errors often occur at the boundaries or in openings. A shoulder strap may disappear while the rest of the dress looks convincing. A belt opening may retain the old room color. Correct or flag those problems before exporting a full series. The automatic step is useful precisely when it gives you a good starting result and a clear way to identify the exceptions.
Why are lace, fringe, and sheer fabrics harder?
These materials contain small openings, fine fibers, or partial transparency that make foreground and background harder to separate cleanly. Their appearance depends partly on what is visible through or around them.
Lace is not simply a solid outline. Its holes may need to reveal the new background while the threads remain intact. A coarse selection can fill those openings, while an overly aggressive one can remove part of the pattern. Compare a representative lace area with the original at a useful zoom level.
Fringe and loose fibers create another challenge. Thin strands may be only a few pixels wide, especially in a full-garment photograph. Strong compression or a similar-colored backdrop can make them difficult to distinguish. If those strands matter to the product, capture a close-up as well as the overall view.
Sheer fabric should not automatically become a fully opaque patch. At the same time, replacing the background under a translucent region may require more than a simple binary cutout. The source combines fabric and the original scene, and that mixture cannot always be separated convincingly without careful work.
Our guide to difficult background-removal edges covers related boundary problems, though clothing needs its own product-specific review. Avoid promising that AI handles every delicate material perfectly. If an edit changes the apparent construction or opacity of the garment, retain a clearer original view, choose another photograph, or use a more deliberate retouching process. Product accuracy matters more than forcing every item into an identical cutout treatment.
Should you export transparent PNG or a finished background?
Export a transparent asset when it will be reused in several layouts, and a finished background when the image has a defined immediate destination. Keeping an editable master and a delivery copy can support both needs.
PNG can carry alpha transparency, as described in the W3C PNG specification. That means background visibility can be represented separately from the foreground image. A white area painted behind the garment is different: it becomes part of the opaque composition.
Open the downloaded file in the application where it will be used. Place it over a colored layer to confirm the transparent regions behave as expected. A checkerboard shown in a preview is not sufficient evidence, and a screenshot of that preview may permanently include the checkerboard itself.
For a finished white-background image, inspect the corners and the area around the garment to confirm the intended background is consistent. Watch for remnants of the original floor or wall inside openings. Also confirm the final dimensions rather than assuming the export preserved every source setting.
Our transparent-background guide explains the distinction in more detail. For clothing, the choice should support the actual workflow: reusable campaign assets, a fixed catalog grid, or a handoff to a designer. Avoid unnecessary conversion between formats after approval, since it can flatten transparency or introduce artifacts that were absent in the reviewed master.
How do you keep a clothing catalog consistent?
Use a shared canvas, framing rule, and background treatment while allowing each garment to retain its true proportions. Consistency means comparable presentation, not stretching every item into the same shape.
Create a reference image that shows the intended space around the garment and the position of its visual center. Apply that rule across similar views. A long coat and a cropped jacket may occupy different areas, but their presentation should make the difference understandable rather than hiding it through arbitrary scaling.
Keep color variants connected to their correct product identifiers. A naming mistake can publish an accurate photograph under the wrong color option. Stable filenames and a simple review inventory help prevent that error when many outputs look similar.
Review the collection as a grid
Open a contact sheet or the actual catalog layout after reviewing individual images. Uneven scale, padding, and brightness can become obvious only when the products appear together. Fix the shared pattern rather than making isolated adjustments that create new inconsistencies elsewhere.
BGRemover's bulk background-removal feature can support repeated separation work, but sample the difficult garments before processing the full collection. Batch completion does not mean every image has passed visual review. The workflow for reducing repeated background-removal work explains how to track completion, exceptions, and approval separately.
Keep exceptions visible. A sheer blouse may need a different treatment from an opaque sweatshirt. A garment with long fringe may require a larger crop. Document why an exception exists so a later reviewer does not force it back into an unsuitable default. A coherent catalog can accommodate those differences while still making navigation feel orderly.
Can the same approach work for clothing videos?
The same principles apply, but video needs review through movement rather than only a still frame. A garment that cuts out cleanly while the model stands still may become harder during a turn or a fast hand movement.
Select a representative short segment and use the video background-removal workflow. Watch the hem as it swings, the space between sleeves and torso, and any fabric that becomes translucent under changing light. Look for an outline that changes unnaturally between adjacent frames.
Keep the movement that explains the product. If the video demonstrates drape or fit, removing the background should not distract from that evidence. A quieter backdrop can help, but a visibly unstable edge may be worse than a clean original scene.
Match the replacement to the camera perspective and the model's position. A full-body model can appear to float if the new scene lacks a plausible floor relationship. A clearly graphic background may be a better choice than an unconvincing simulated room when realism is not essential.
Verify the exported video in its destination, including duration and audio if present. Do not infer video quality from a successful photo of the same garment. The digital camouflage and segmentation guide discusses why patterned clothing and different vision tasks need their own evaluation. For a fashion video, the practical question remains simple: does the result preserve the garment's appearance throughout the motion viewers need to see?
What should you check before publishing the final images?
Check product accuracy, image consistency, and the actual page presentation before publishing. A technically valid file can still be the wrong image for the listing or show the garment poorly at the displayed size.
Compare the edited garment against the source for color, proportions, openings, and fine attachments. Inspect areas where the original background touched pale fabric or fine trim. Confirm that a remaining shadow does not contain a visible patch of the old scene.
Check the crop in both the large product view and the smaller catalog thumbnail. A neatly centered image may still lose sleeve tips when the website applies a different crop. Keep important garment details inside the usable area for the layouts you actually use.
Review filenames and variant assignments. Confirm that front, back, and detail images belong to the same item and that color variants have not been swapped. This is especially important when batch outputs return in a different order from the originals.
Use descriptive alternative text that identifies the garment and the view when appropriate. Avoid repeating a long marketing sentence in every image description. The text should help someone understand what the particular image contributes.
Finally, keep the original and approved master available for revisions. A future campaign may need a different background or crop. Reusing the master is safer than editing a small downloaded catalog thumbnail. A reliable archive protects the work you have already reviewed and reduces the chance that a later change quietly damages the product detail.
How do you make the process repeatable without overediting?
Build a small reference set and a concise review checklist, then use automatic removal for the routine separation work. Reserve careful attention for details that affect how the garment is understood.
The useful checklist is product-specific: complete hem, intact straps, accurate openings, believable transparency, consistent color, and the correct variant. Add a grid review for scale and spacing, and a destination review for cropping. Those checks make the workflow repeatable without pretending that every fabric behaves identically.
A clean background is valuable when it supports the clothing. It should not erase construction details, invent hidden surfaces, or turn a delicate material into something it is not. If the source cannot support a faithful cutout, another photograph or a simpler presentation may be the right choice.
Start with one representative garment in BGRemover.video, inspect the full result, and establish an approved reference before expanding to the catalog. That approach keeps the convenience of automatic removal while preserving the accuracy shoppers need. The goal is a consistent presentation of real products, with the background doing its job quietly and the clothing remaining the reason to look.
Frequently asked questions
Can I change a clothing photo background in one click?
An automatic removal step can create an initial cutout quickly, but a publishable clothing image also needs background selection, composition, export, and review. Delicate edges and sheer materials may require additional attention.
Is white always the best clothing background?
No. White can support a consistent catalog, but the right choice depends on the garment and destination. Check the specific marketplace's current requirements rather than assuming every shop requires the same background.
Will background removal preserve lace and sheer fabric?
Not automatically in every image. Lace openings, fringe, and translucent panels can be difficult to separate, so inspect those details against the intended replacement and compare them with the original.
Should I keep the hanger or mannequin?
Decide based on the intended product presentation before processing. Removing a support may expose areas that were never photographed; a simple background cutout does not reconstruct those hidden garment details.
Can I process a clothing catalog in batches?
Use a batch workflow for images that share requirements, after validating a representative sample. Track difficult garments separately and review every required output before publishing.
Is a transparent PNG the same as a white background?
No. A transparent PNG can let another background show through, while a white-background image contains an opaque white area. Choose the output according to how the asset will be reused.